
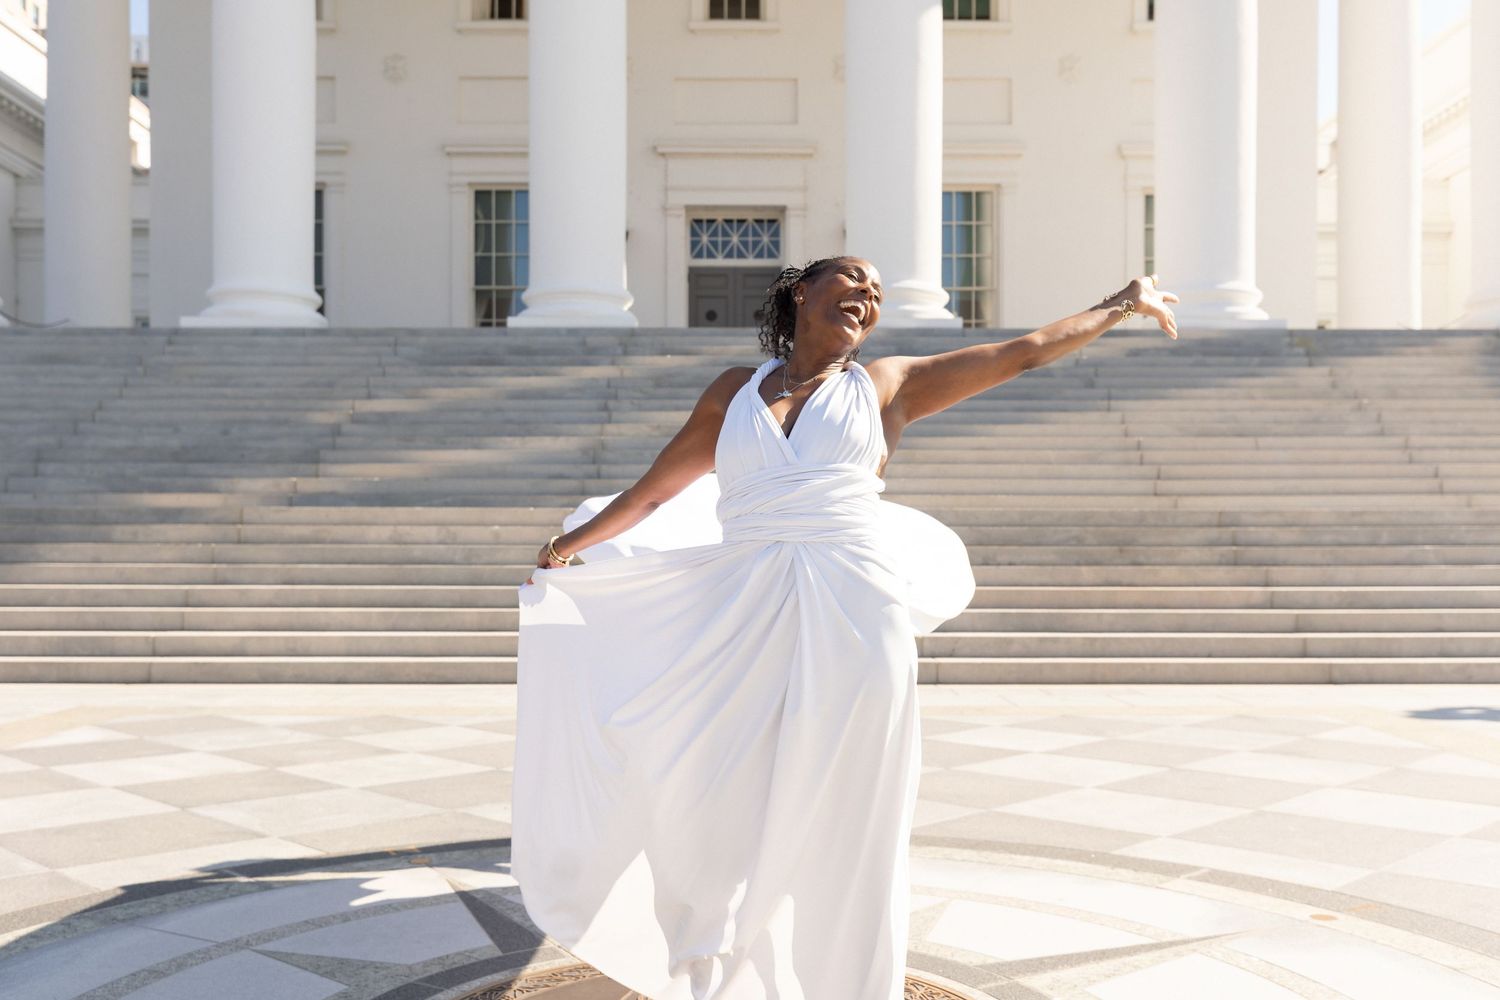
If you've started planning a flying dress photoshoot, you've probably noticed that the poses you see online look effortless. But here's the truth: they really aren't. A flying dress moves with wind, any motion, any shift in weight, and that's exactly what makes the photos work. It's also what makes posing for one different from a normal portrait session.
You don't need modeling experience. You do need to know what actually reads well on camera versus what just feels good to do. Here are the poses that consistently deliver, and why each one works.
The Classic Flow
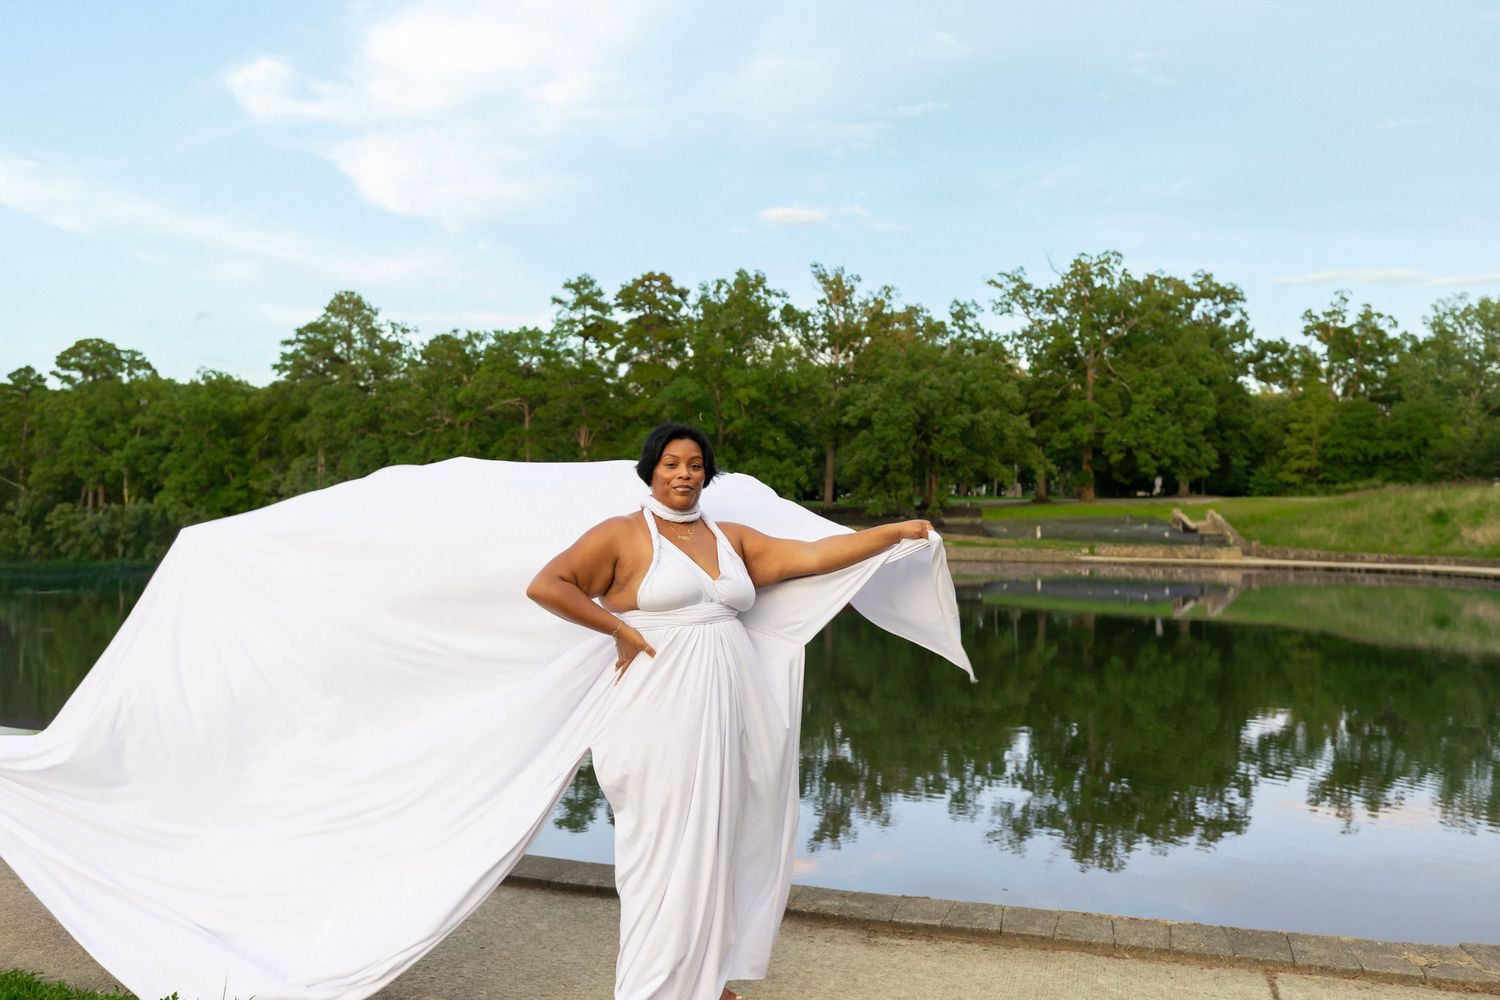
This is the shot people picture when they hear "flying dress." The fabric catches mid-air, arms extend out from the body to create clean lines, and the chin lifts slightly with a turn toward the camera. Small adjustment, big difference: dropping the chin even a little flattens the whole shot. Keep it up and angled.
The Walk
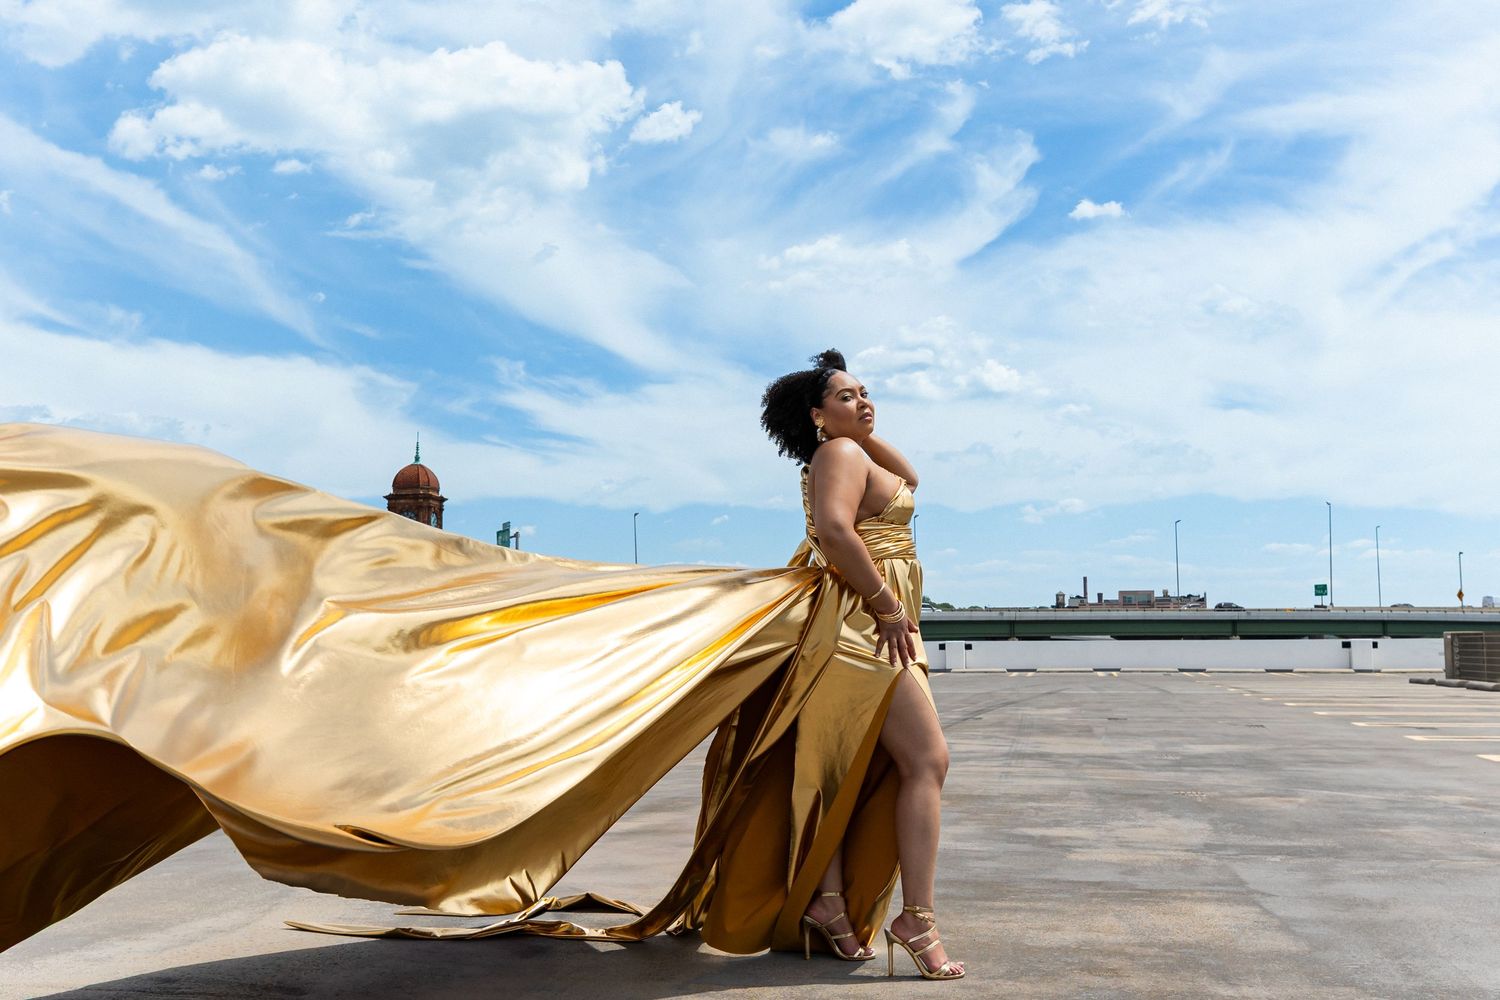
Instead of holding a pose, you're captured mid-stride. The dress trails behind you naturally instead of being arranged. This one photographs more honestly than a held pose because your body is doing what it actually does when you walk, and the fabric follows the physics instead of fighting them.
The Spin
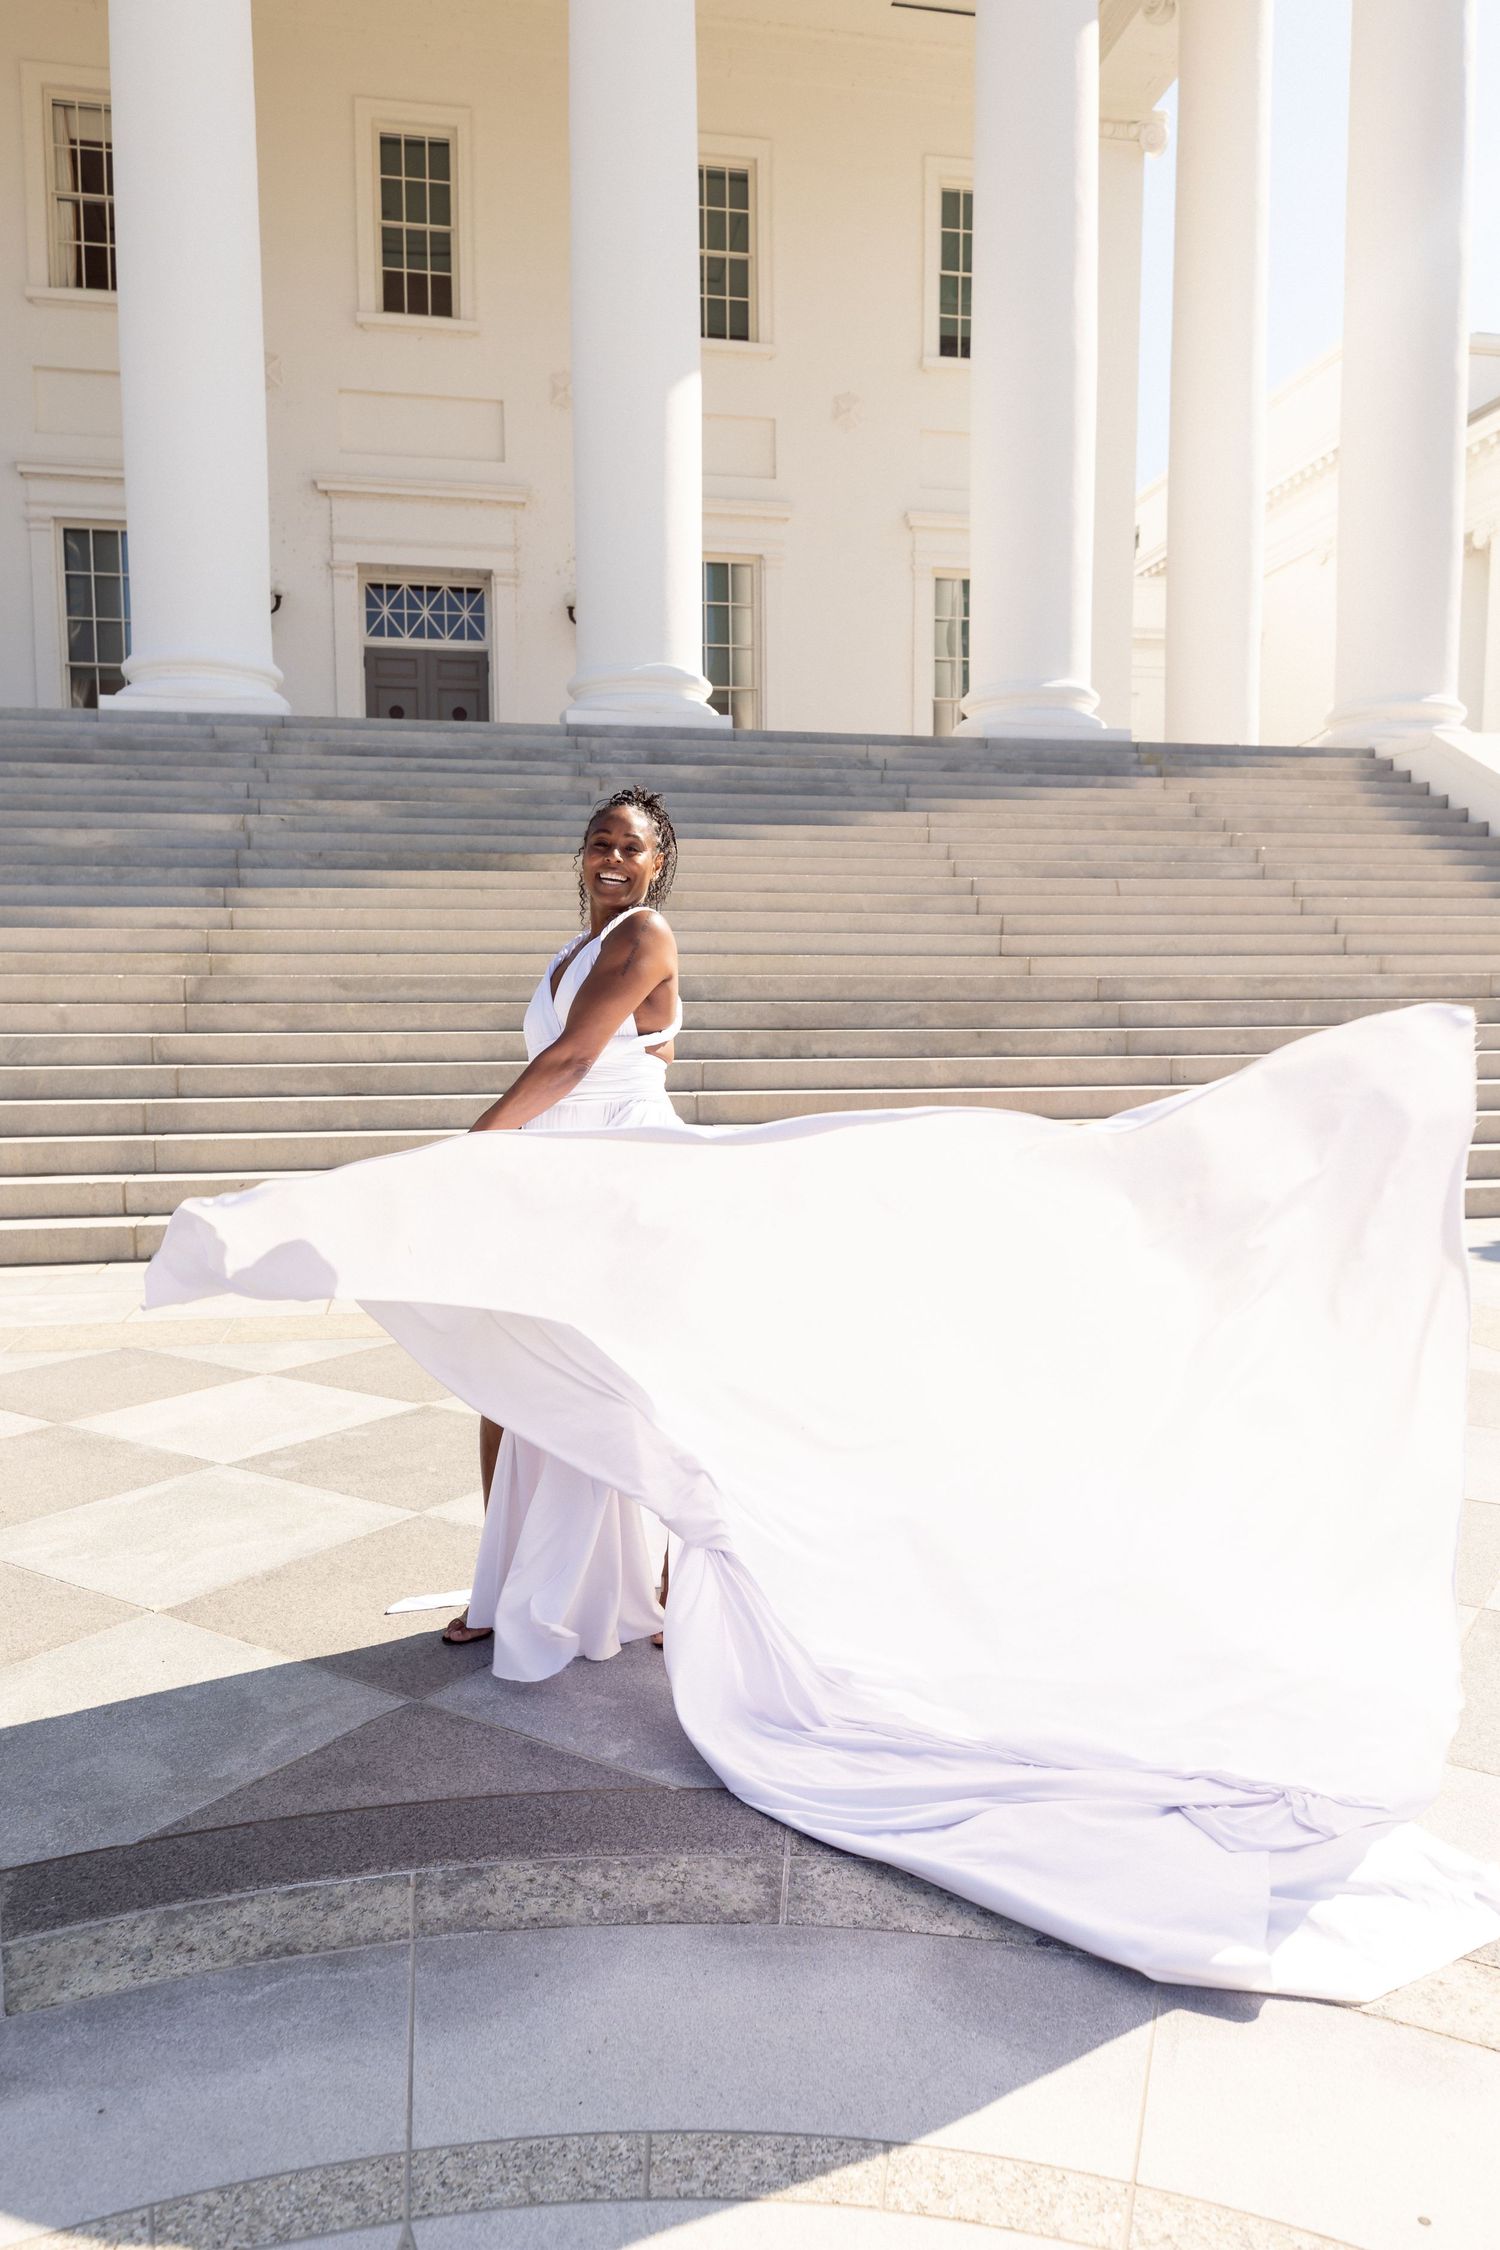
A full rotation lets the dress flare out in a way no static pose can replicate. Timing matters more here than anywhere else. Too early or too late and you miss the peak flare, which is why this is a pose where a photographer calling the shot beats trying to guess it yourself.
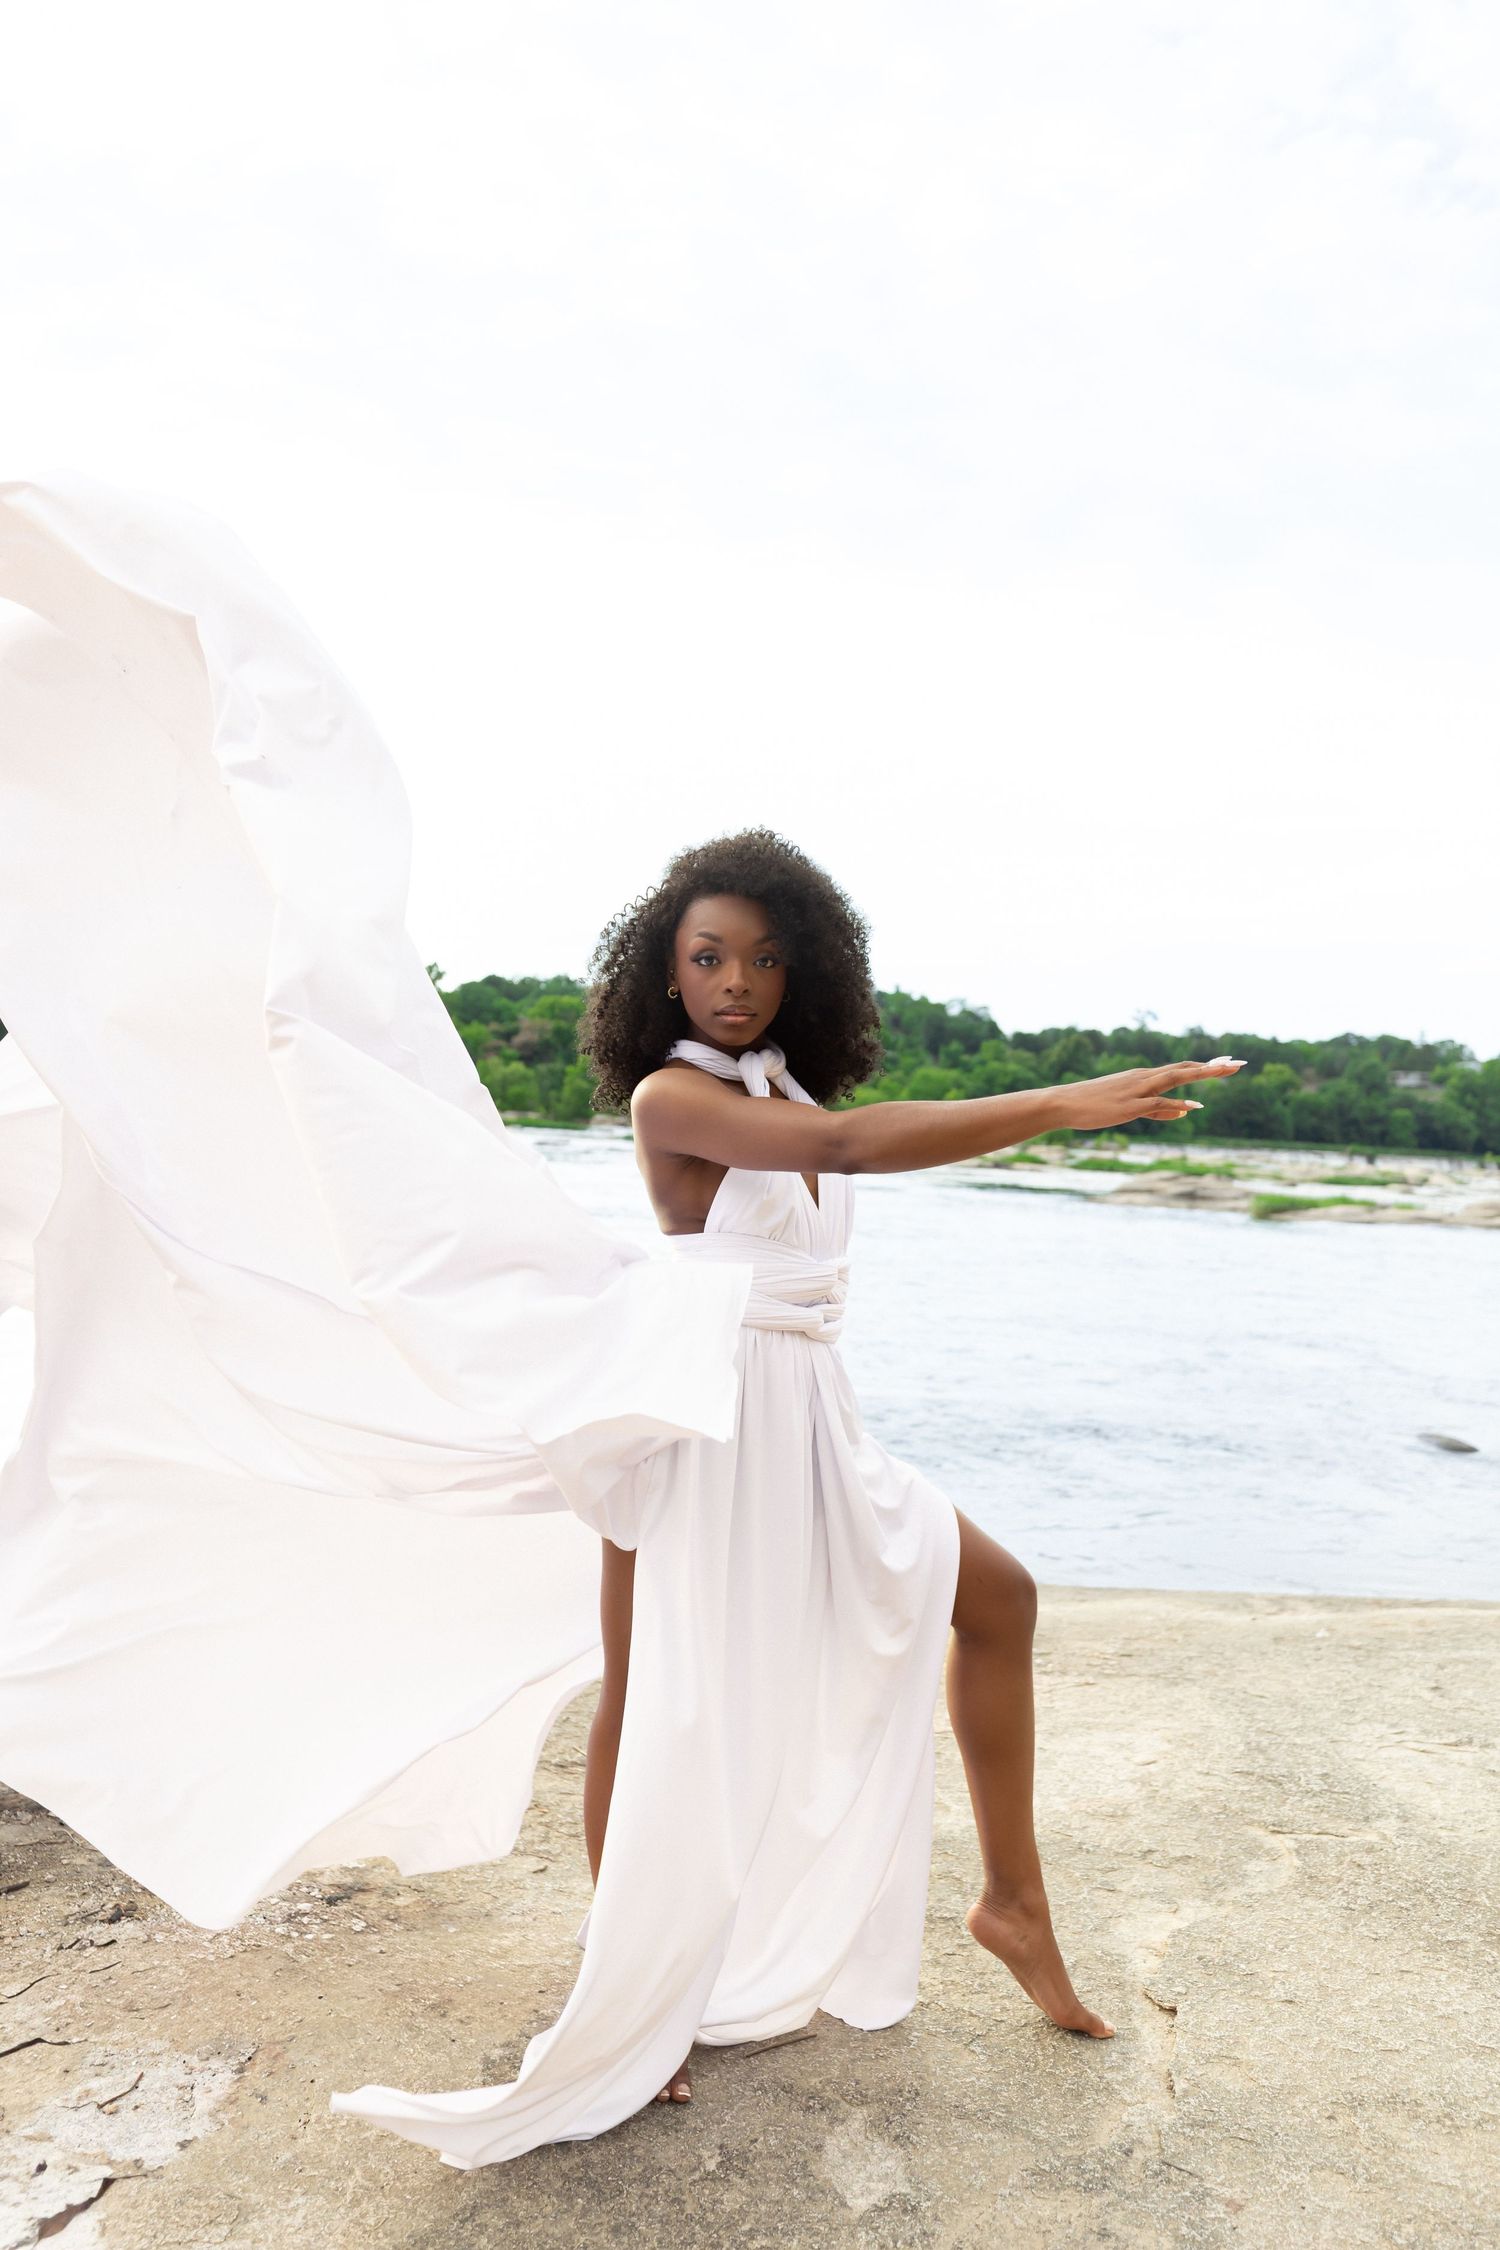
The Reach
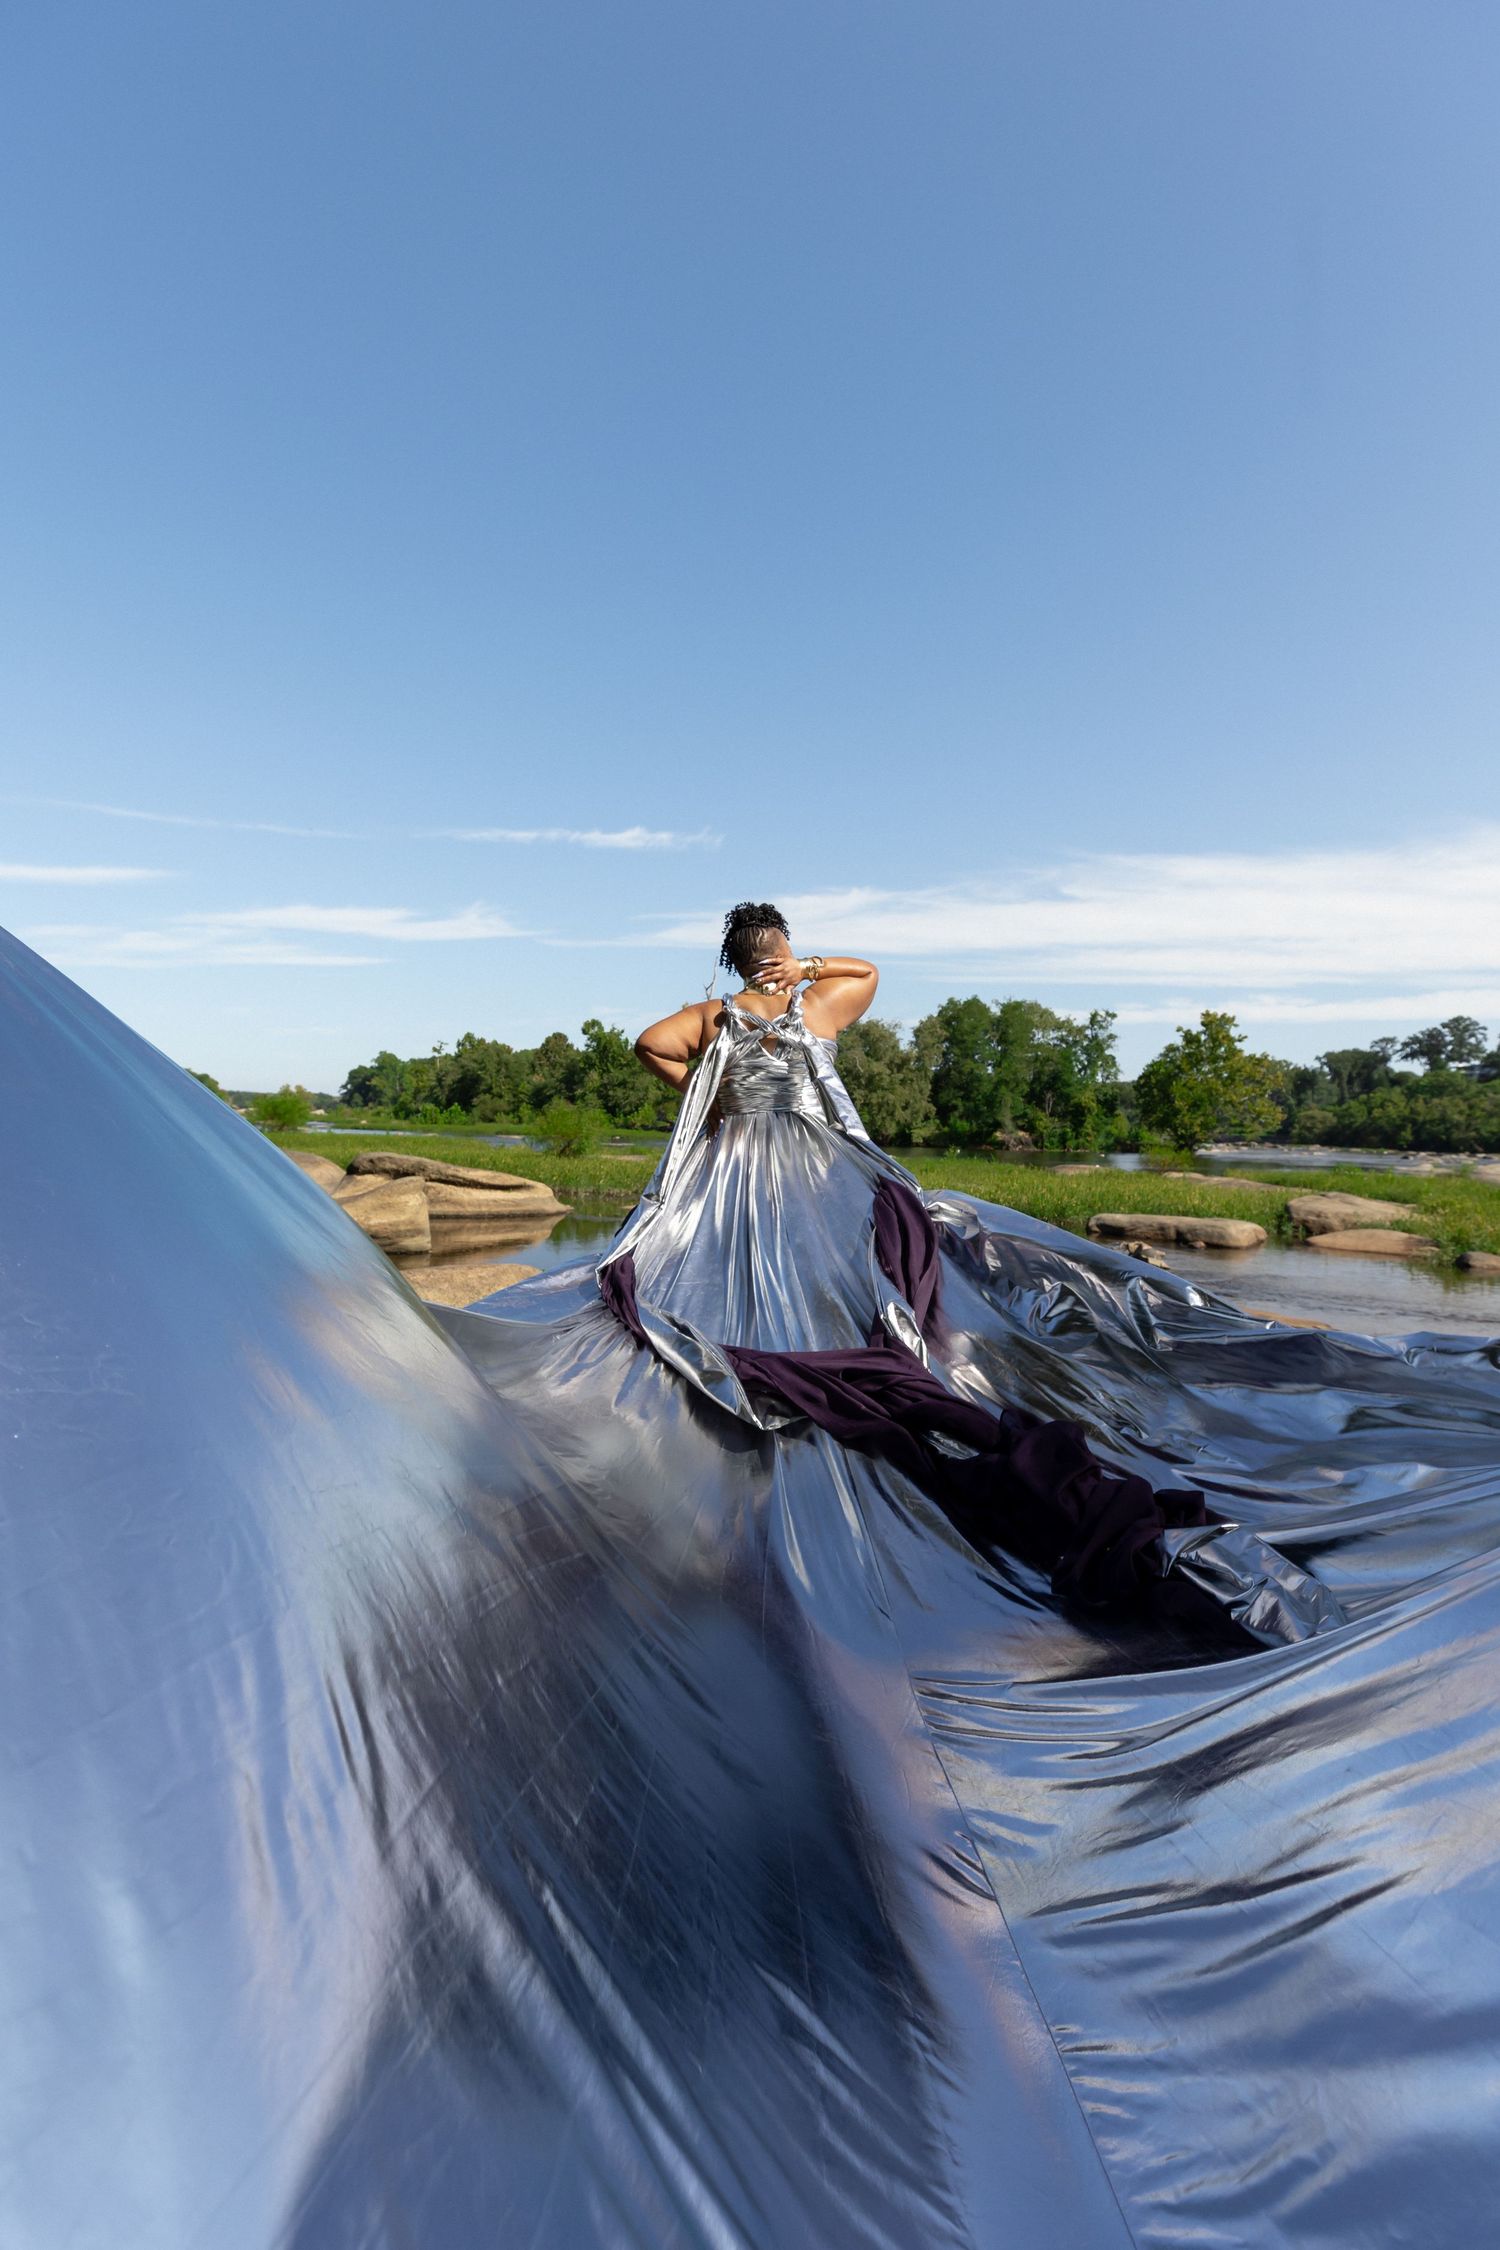
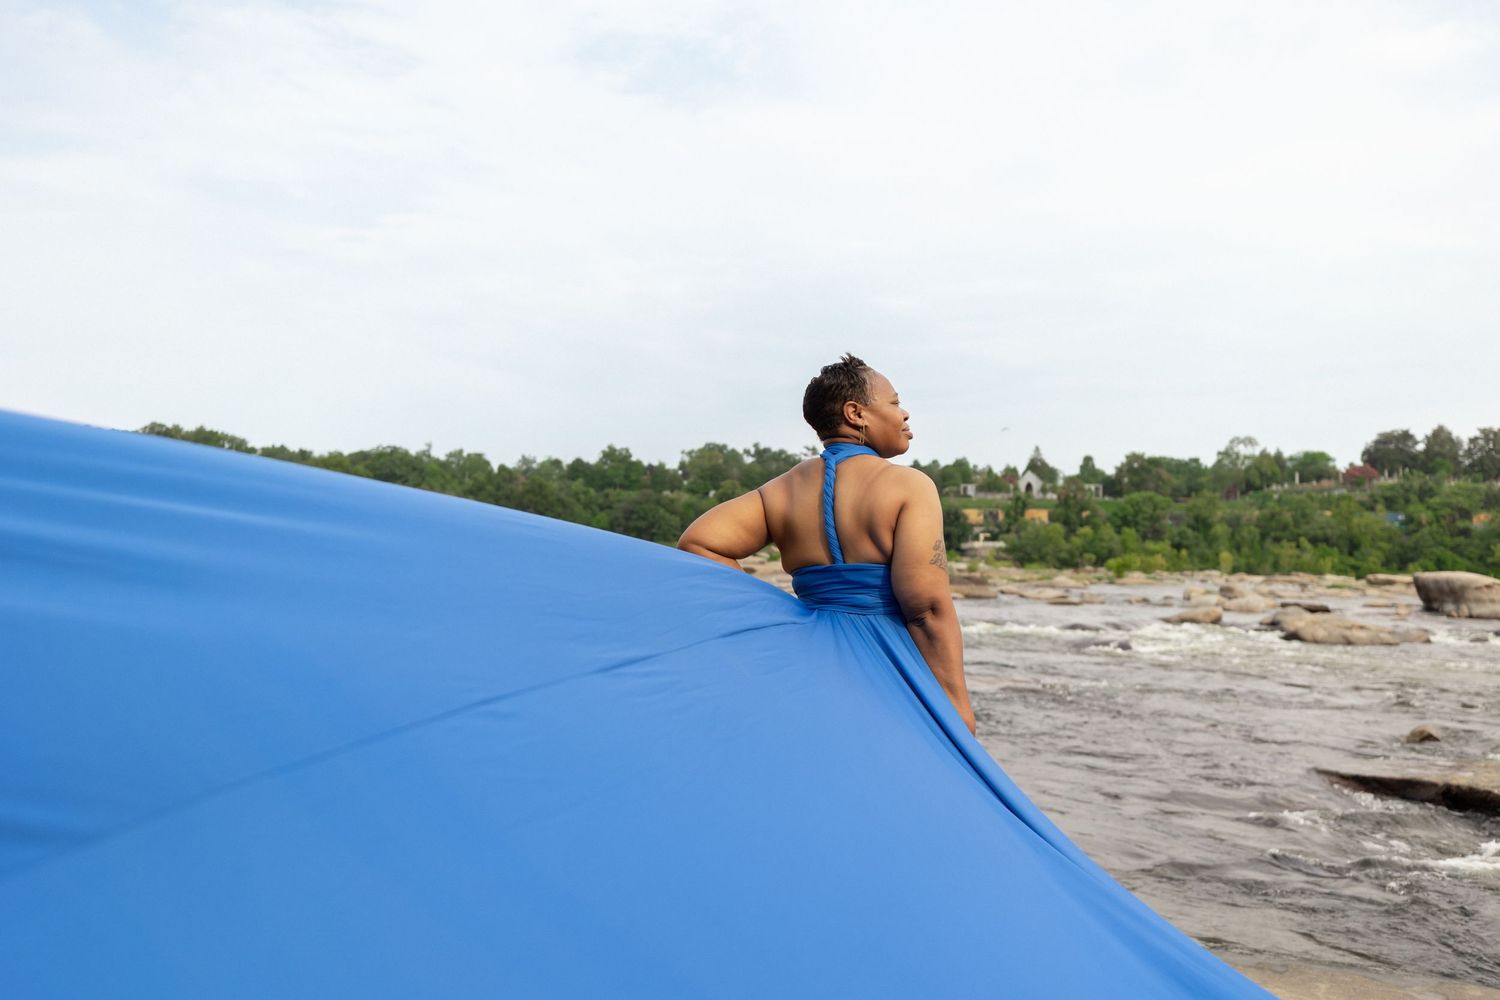
Lean into the wind, or toward the horizon, with one or both arms extended. This is the pose that puts the landscape on equal footing with you instead of behind you. It works especially well against big, open backdrops, cliffs, dunes, open water, because the extension gives the eye somewhere to travel.
The Seated Drape
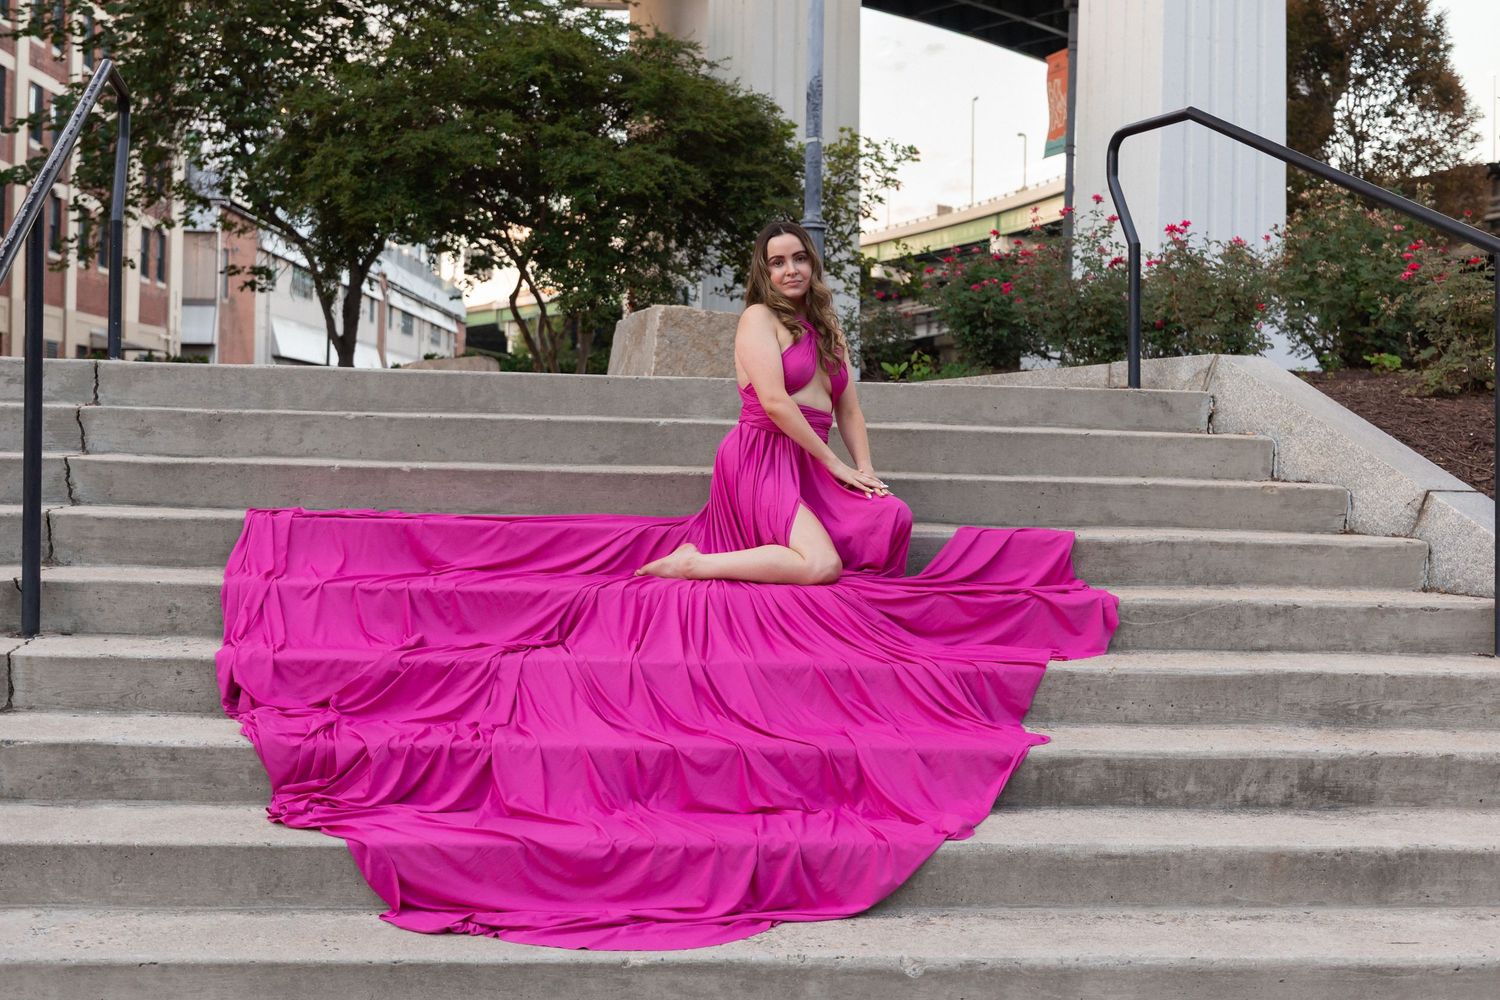
Slow down for this one. Sit on rocks, sand, or steps and let the dress pool around you. It's a quieter, more editorial moment than the movement-heavy poses, and it's where close-up detail shots tend to happen: fabric texture, expression, the small things that get lost in a wide shot.
The Silhouette
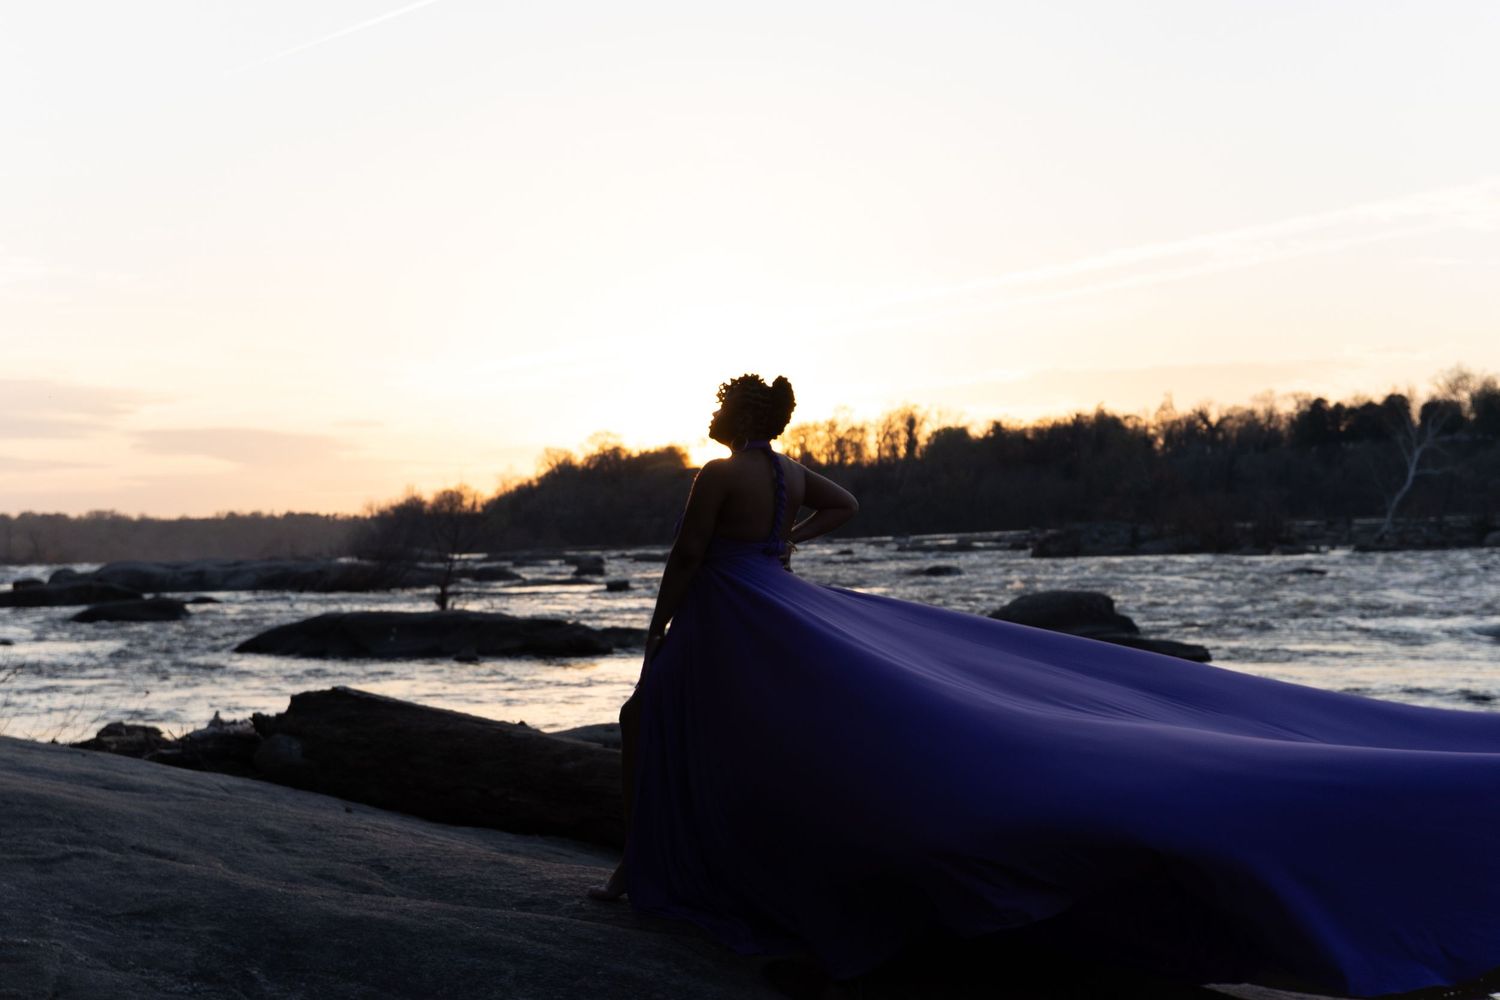
Shot backlit, this one is about shape over detail. Your body and the dress become an outline against sky or water. It asks for less from your face and more from your posture, so this is where elongating through the spine and keeping the arms away from the body actually shows up in the final image.
The Details That Hold It Together
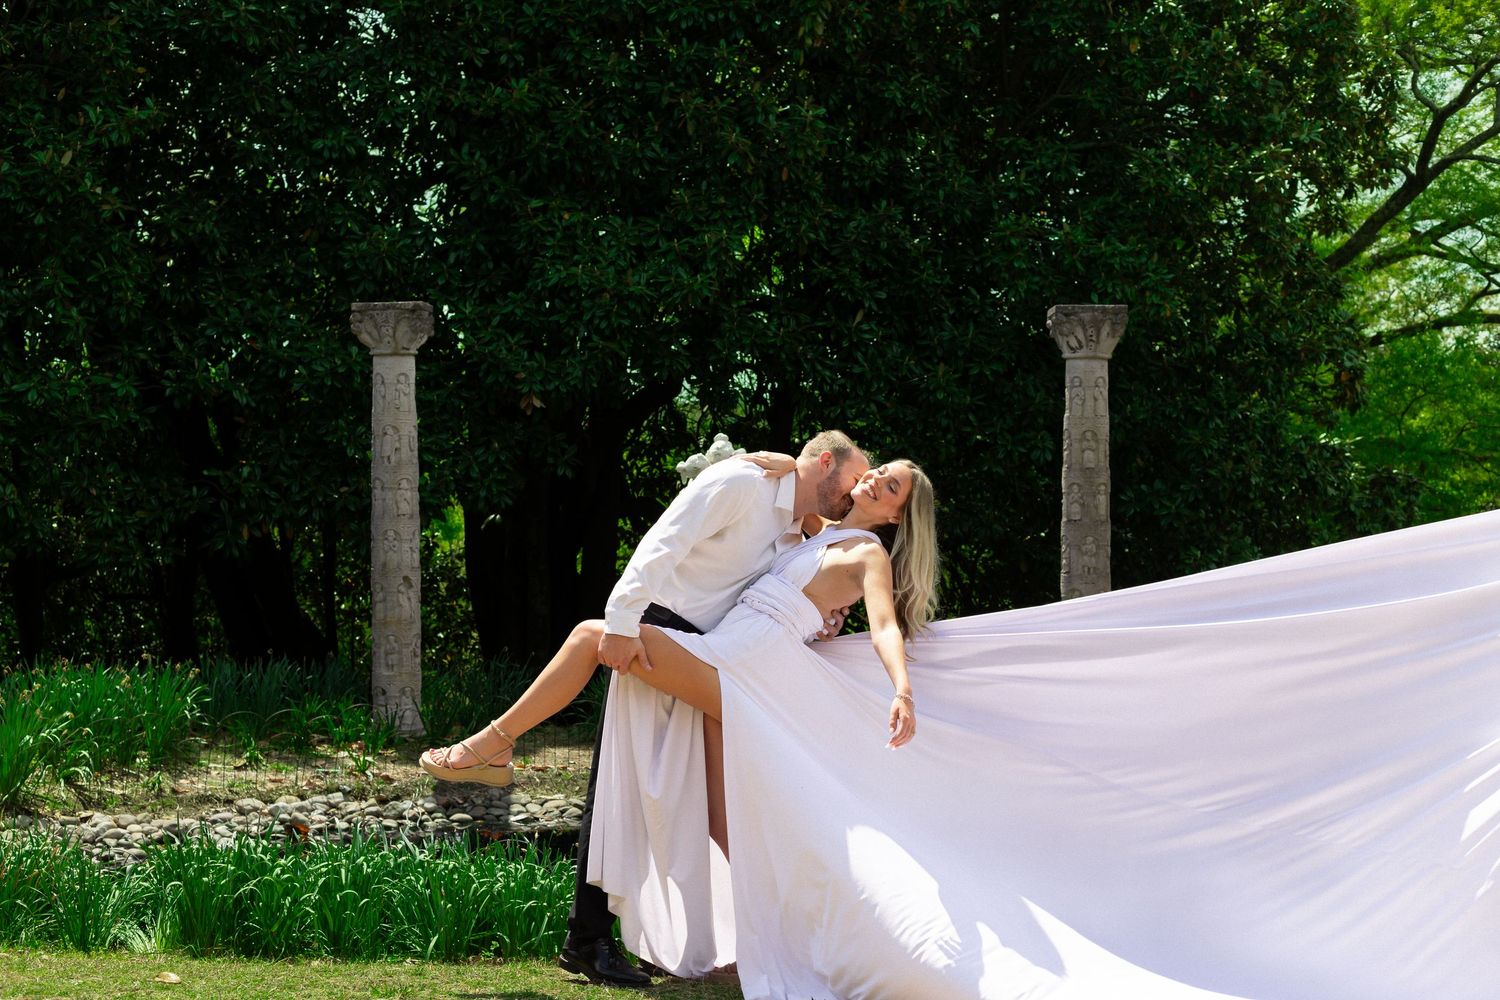
None of the above works if the small stuff gets ignored. Relaxed fingers instead of clenched or stiff ones. An elongated neck. Weight shifted onto your back foot rather than centered and flat. These aren't poses on their own, they're what separates a pose that looks natural from one that looks held.
Why Direction Matters More Than Posing Alone
Here's the part most guides skip: you shouldn't have to know all of this going in. A flying dress shoot moves fast, wind changes, fabric behaves differently shot to shot, and trying to remember seven poses while also managing a twelve-foot train is a lot to carry alone.
That's the difference a directive photographer makes. Instead of handing you a pose list and hoping you land it, I'm calling the shot in real time, adjusting for wind, timing the spin, telling you exactly where to put your weight before the shutter clicks. You show up and move. I handle the rest. The photos should feel like you, out loud, not like you performing a pose you memorized. If you're ready to plan your own flying dress session, let's talk through it.